Adding new power sockets to your home or office can seem like a daunting task, especially if you’re not familiar with electrical work. However, with the right preparation, tools, and safety measures, installing power sockets doesn’t have to be a stressful or complicated project. This guide will walk you through everything you need to know to install power sockets efficiently and safely, whether you’re upgrading your space or simply adding convenience.
Understanding the Basics of Power Socket Installation
Before diving into the installation process, it’s important to understand what you’re working with. Power sockets, also known as electrical outlets, are the interface between your electrical wiring and your devices. They come in various types and configurations depending on your country’s standards and the specific needs of your space. Understanding these differences can help you make informed decisions about your electrical installations and ensure that your home is both functional and safe.
Types of Power Sockets
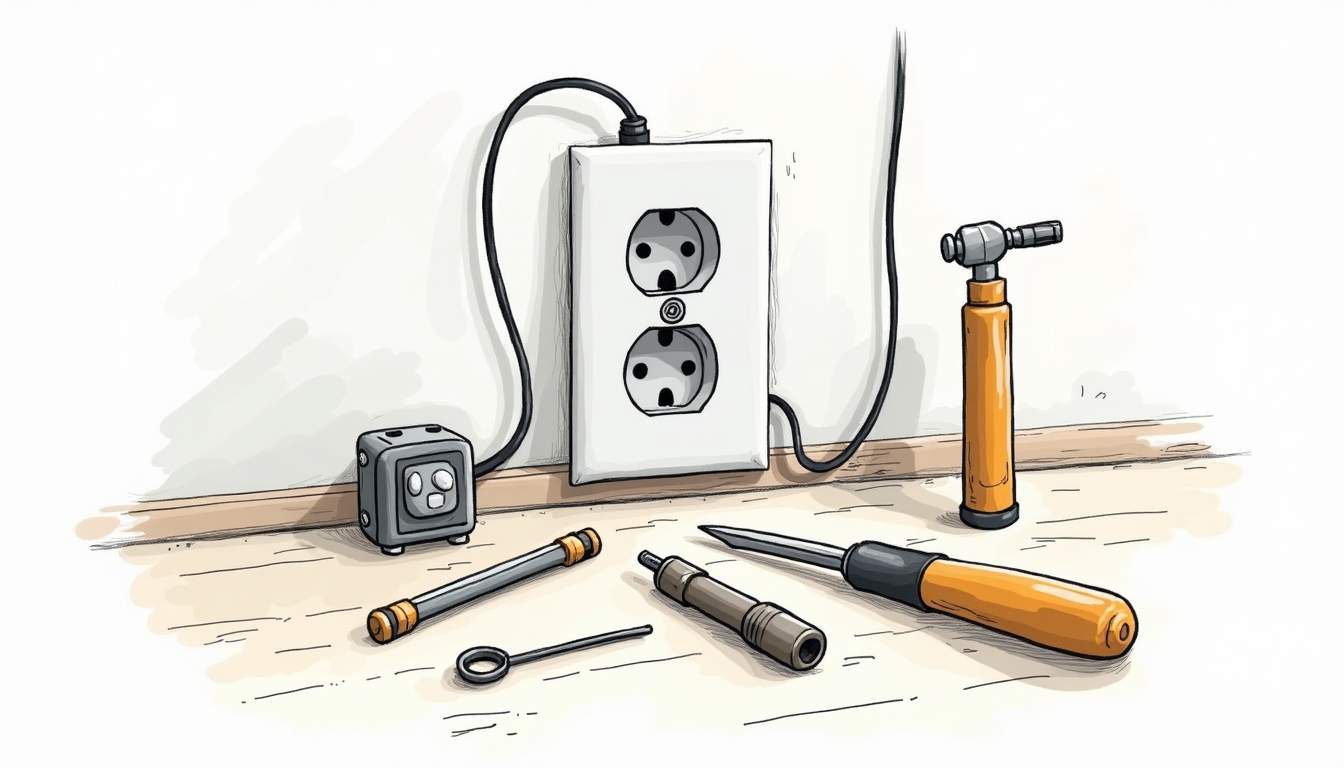
There are several common types of power sockets, including standard two- or three-pin outlets, USB-integrated sockets, and specialized sockets for heavy appliances. The most common household sockets are usually rated for 15 or 20 amps and 120 or 240 volts, depending on your region. Additionally, there are smart sockets that can be controlled remotely via smartphone apps, allowing for greater convenience and energy management in modern homes.
Choosing the right socket is crucial. For example, if you’re installing a socket in a kitchen or bathroom, you might need a Ground Fault Circuit Interrupter (GFCI) socket for added safety. These sockets are designed to cut off power when they detect a ground fault, significantly reducing the risk of electrical shock. For outdoor installations, weatherproof sockets are essential, as they are built to withstand moisture and other environmental factors, ensuring durability and safety in various weather conditions. For more guidance or professional help, you can visit Handyman Services Singapore to ensure your socket installations are done safely and correctly.
Electrical Wiring and Circuit Considerations
Power sockets are connected to your home’s electrical wiring through circuits protected by circuit breakers or fuses. Each circuit can handle a limited amount of current, so adding new sockets requires checking the capacity of your existing circuits to avoid overloads. This is particularly important in older homes, where wiring may not be up to current standards and could pose a fire hazard if not properly assessed.
It’s also important to understand the wiring colors and functions—typically, live (hot), neutral, and ground wires. Correctly identifying and connecting these wires is critical for safety and functionality. In addition to knowing the wire colors, it’s beneficial to familiarize yourself with local electrical codes and regulations, as these can vary significantly and dictate the types of installations permitted in your area. This knowledge can help you avoid costly mistakes and ensure that your installation is compliant with safety standards.
Preparing for a Smooth Installation
Preparation is key to a hassle-free socket installation. Taking the time to plan and gather everything you need will save you from unexpected problems. A well-thought-out approach not only streamlines the process but also enhances your confidence as you tackle the installation, ensuring that you can focus on the task at hand without unnecessary distractions.
Tools and Materials You’ll Need
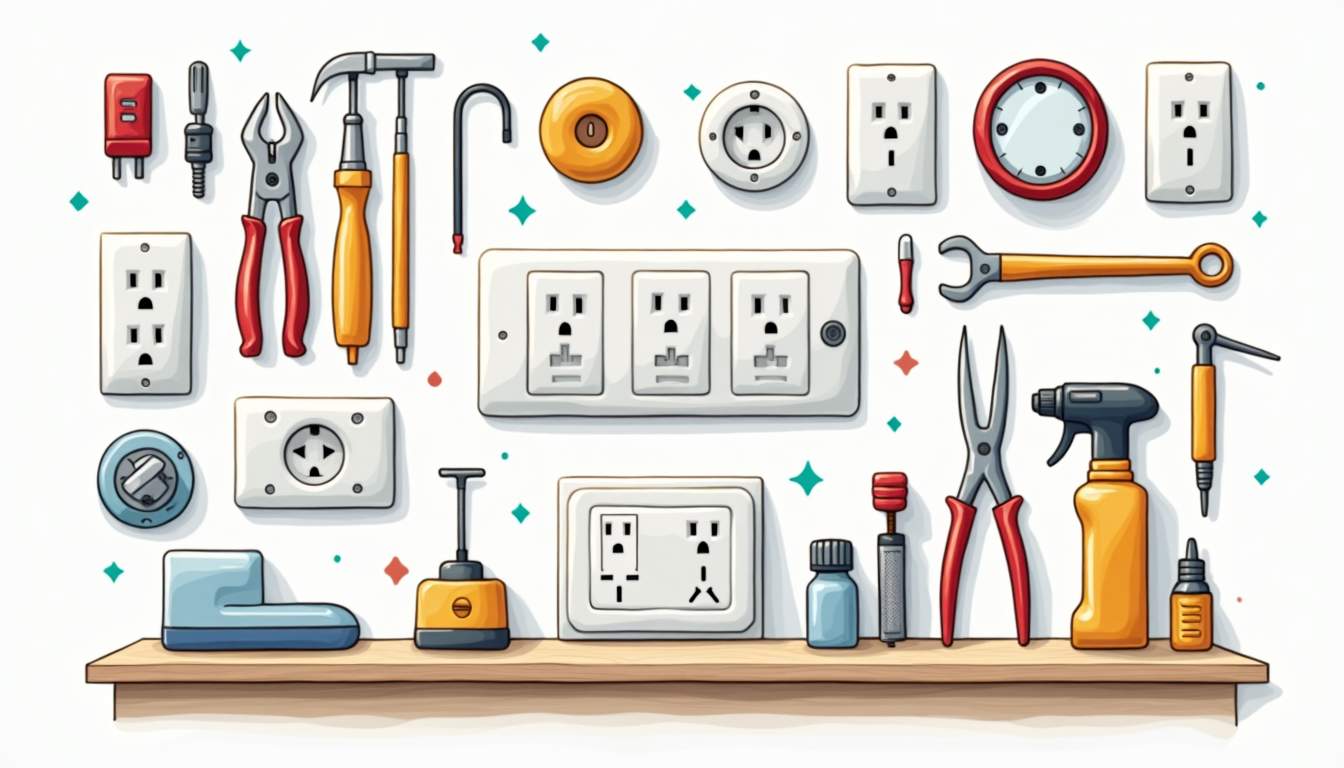
Gathering the right tools before you start will make the process much smoother. Here’s a list of essentials:
- Screwdrivers (flathead and Phillips)
- Wire strippers and cutters
- Voltage tester or multimeter
- Electrical tape
- Wire connectors (wire nuts)
- Power sockets/outlets
- Wall boxes (if installing new sockets)
- Drill and appropriate bits (for mounting boxes)
- Fish tape or wire puller (for running wires through walls)
Having these ready before you begin helps avoid interruptions and ensures you can work efficiently. It’s also wise to consider the specific requirements of your installation. For instance, if you’re adding outlets in a location that will see heavy use, you might want to invest in higher-rated sockets that can handle more load. This foresight can prevent future electrical issues and ensure that your installation meets all necessary codes and standards.
Safety First: Power Off and Precautions
Never start any electrical work without turning off the power at the main breaker panel. Use a voltage tester to confirm that the circuit you’ll be working on is completely de-energized. This simple step can prevent serious injury or even death. Furthermore, it’s advisable to label the circuit breakers in your panel, as this can save time and reduce confusion during the installation process.
Additionally, wear insulated gloves and safety glasses to protect yourself from accidental shocks or debris. If you’re unsure about any step, it’s always best to consult a professional electrician. Remember, electrical work can be unpredictable, and taking the necessary precautions is crucial. Familiarize yourself with the layout of your electrical system, and consider having a buddy system in place; having someone nearby can be invaluable in case of emergencies. This not only enhances safety but can also make the installation process more enjoyable and collaborative.
Step-by-Step Guide to Installing a Power Socket
With your preparation complete, it’s time to install the power socket. The following steps outline the process for installing a new socket where wiring is already in place. If you’re running new wiring, additional steps will be required.
Step 1: Turn Off the Power and Verify
Switch off the circuit breaker that controls the area where you’ll be working. Use a voltage tester on the existing socket or wiring to ensure no current is flowing. Safety cannot be overstated.
Step 2: Remove the Existing Socket or Prepare the Wall Box
If replacing an old socket, unscrew the faceplate and carefully pull out the socket from the wall box. Note how the wires are connected—taking a photo can help for reference. If installing a new socket, ensure the wall box is securely mounted and ready to receive wiring.
Step 3: Identify and Prepare the Wires
Typically, you will find three wires: live (usually brown or black), neutral (blue or white), and ground (green/yellow or bare copper). Strip about 1 cm of insulation from the ends of the wires if needed, ensuring clean, undamaged copper for a good connection.
Step 4: Connect the Wires to the Socket
Attach the wires to the corresponding terminals on the socket. The live wire goes to the terminal marked “L,” the neutral to “N,” and the ground wire to the grounding terminal (often marked with a ground symbol). Make sure the connections are tight and secure to avoid loose contacts.
Step 5: Secure the Socket and Attach the Faceplate
Carefully push the wired socket back into the wall box, ensuring no wires are pinched or strained. Screw the socket into place, then attach the faceplate. The socket should sit flush against the wall, with no gaps.
Step 6: Restore Power and Test
Turn the circuit breaker back on and test the socket using a plug-in device or a socket tester. Confirm that the socket is functioning properly and that the grounding is effective. If the socket doesn’t work or trips the breaker, turn off the power immediately and double-check your wiring.
Tips for Avoiding Common Pitfalls
Even experienced DIYers can run into trouble when installing power sockets. Here are some tips to keep your project hassle-free.
Don’t Overload Circuits
Adding too many sockets to one circuit can cause overloads and trip breakers. If you plan to use high-power devices, consider installing a dedicated circuit or consulting an electrician to assess your home’s capacity.
Use Quality Components
Cheap sockets and wiring can be a fire hazard. Invest in good-quality electrical components that meet safety standards. This ensures durability and peace of mind.
Label Your Circuit Breakers
Keeping your breaker panel clearly labeled can save time and confusion in future projects. Mark which breakers control which rooms or circuits so you can quickly isolate power when needed.
Know When to Call a Professional
If your home has old wiring, or if you need to run new cables through walls or ceilings, it’s wise to hire a licensed electrician. Complex electrical work requires permits and inspections to ensure safety and compliance with local codes.
Enhancing Your Installation: Modern Socket Options
Installing power sockets is also an opportunity to upgrade your space with modern features that add convenience and functionality.
USB-Integrated Power Sockets
Many modern sockets come with built-in USB ports, allowing you to charge smartphones, tablets, and other devices without needing bulky adapters. This is especially handy in bedrooms, offices, and living rooms.
Smart Power Sockets
Smart sockets can connect to your home Wi-Fi network, letting you control power remotely via smartphone apps or voice assistants. They can help save energy by scheduling devices to turn off when not in use.
Child-Safe Sockets
For homes with young children, consider sockets with built-in safety shutters that prevent objects from being inserted. This simple feature can prevent accidents and provide peace of mind.
Final Thoughts
Installing power sockets doesn’t have to be a headache. With proper knowledge, preparation, and respect for safety, you can add new outlets to your home or office with confidence. Whether you’re upgrading existing sockets or installing new ones, following the steps outlined here will help you avoid common pitfalls and ensure a safe, functional result.

Remember, when in doubt, don’t hesitate to consult a professional electrician. Electrical work can be dangerous, and it’s always better to be safe than sorry. With the right approach, you’ll enjoy the convenience of additional power sockets without the hassle.