Whether you’re renovating your bathroom or simply upgrading your fixtures, installing or replacing wash-basin taps is a practical project that can enhance both the functionality and aesthetics of your space. However, to ensure long-term reliability and avoid frequent repairs, it’s essential to approach this task with the right knowledge and techniques.
This comprehensive guide will walk you through everything you need to know about selecting, installing, and maintaining wash-basin taps so they perform flawlessly for years to come.
Choosing the Right Wash-Basin Taps
Understanding Different Tap Types
Before diving into installation, it’s important to select taps that suit your needs and the style of your bathroom. The most common types of wash-basin taps include pillar taps, mixer taps, and sensor taps.
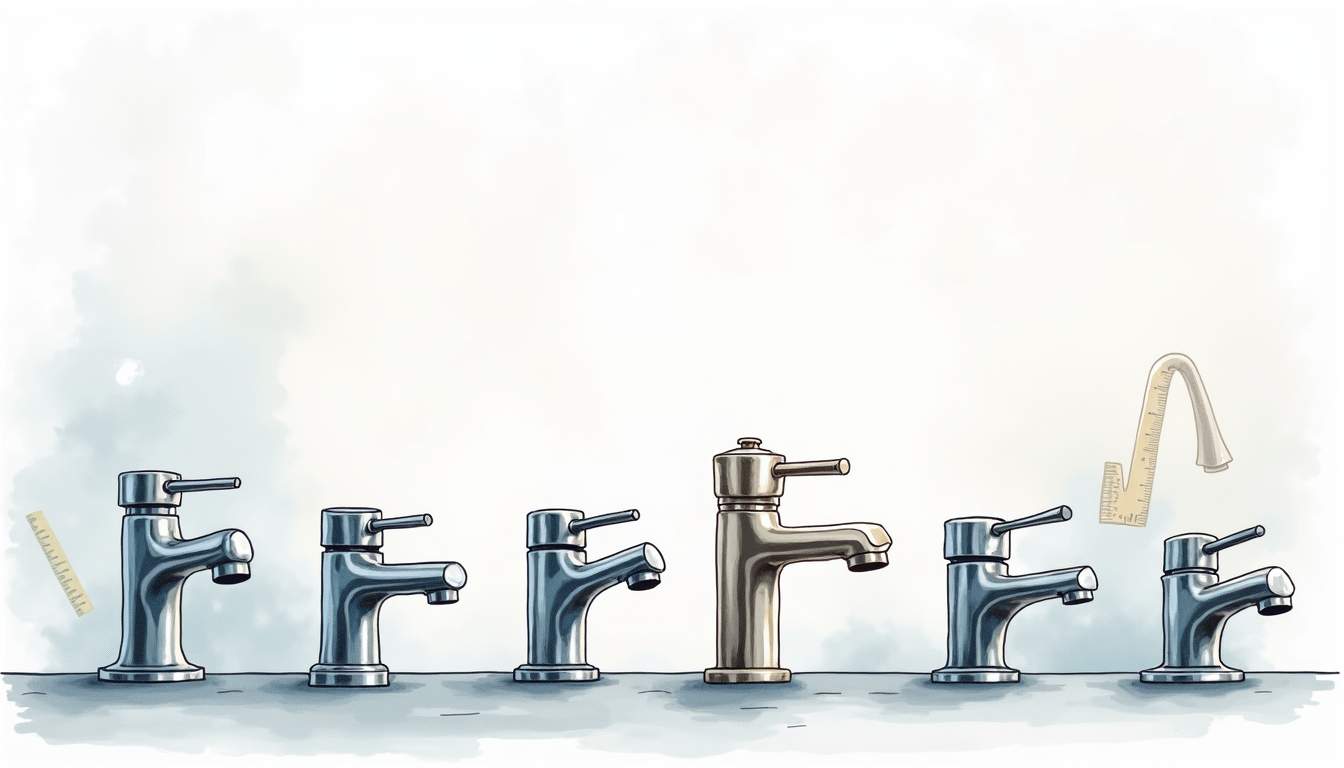
Pillar taps have separate hot and cold water controls and are often found in traditional bathrooms. They can add a classic touch to your space, especially when paired with vintage-style basins. Mixer taps combine hot and cold water in one spout, allowing you to adjust the temperature more precisely. These taps are not only convenient but also help in conserving water by allowing for more efficient usage. Sensor taps, which operate without handles, are popular in public restrooms for hygiene but are increasingly seen in modern homes. Their touchless operation minimizes the spread of germs and is particularly beneficial in households with children or elderly members. For more information, you can visit Plumber Singapore website for expert plumbing solutions.
Material and Finish Considerations
The material of your taps affects durability and maintenance. Brass is a popular choice due to its resistance to corrosion and longevity. It’s also a material that can be easily molded into intricate designs, making it ideal for decorative taps. Chrome-plated taps offer a shiny, modern finish and are easy to clean, while stainless steel taps provide a sleek, contemporary look with excellent durability. Additionally, the choice of material can influence the overall feel of your bathroom; for instance, a matte finish can evoke a more understated elegance, while a polished finish might lend a more luxurious vibe.
When selecting the finish, consider how it will complement your bathroom’s overall design. Matte black, brushed nickel, and antique brass finishes are trendy options that can add character to your space. Furthermore, keep in mind that the finish can affect the maintenance required; for example, polished surfaces may show water spots more easily than matte finishes, which can be a consideration for busy households.
Compatibility with Your Basin
Ensure the taps you choose are compatible with your wash basin. Some basins have pre-drilled holes for specific tap types, while others might require drilling or adapters. Measure the hole diameter and spacing carefully to avoid installation headaches later. It’s also wise to consider the height of the taps in relation to your basin; taller taps may be more convenient for filling larger containers, while shorter taps can create a more streamlined look.
Additionally, think about the water pressure in your home, as this can affect the performance of your taps. Low-pressure systems may not work well with certain types of taps, particularly those designed for high-flow rates. Consulting with a plumber or a knowledgeable sales associate can help you make an informed decision that ensures both functionality and aesthetics in your bathroom design.
Preparing for Installation or Replacement
Gathering Tools and Materials
Having the right tools on hand makes the installation process smoother. Common tools include an adjustable wrench, basin wrench, plumber’s tape (Teflon tape), a screwdriver, and a bucket to catch any residual water.
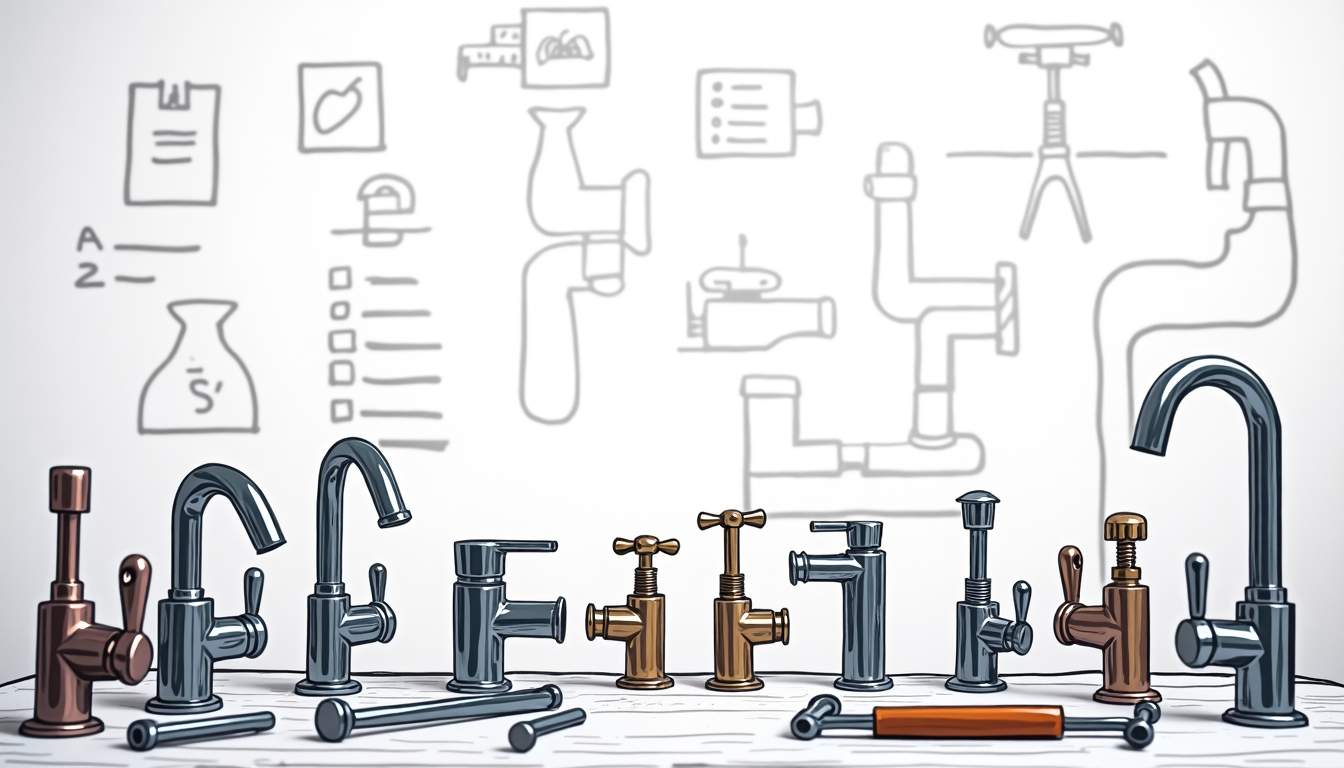
Additionally, you’ll need new washers or O-rings if they aren’t included with your taps. These small components are crucial for preventing leaks and ensuring a tight seal. It’s also wise to have a pair of pliers handy, as they can assist in gripping stubborn fittings. Furthermore, consider having a flashlight available to illuminate dark spaces under the sink, making it easier to see what you’re working on. If you’re planning to replace the entire faucet assembly, a utility knife can also be useful for cutting through old caulk or sealant.
Turning Off the Water Supply
Before removing old taps or installing new ones, it’s essential to shut off the water supply. Locate the isolation valves under the basin and turn them clockwise to close. If these valves are absent or faulty, you may need to turn off the main water supply to your home.
Once the water is off, open the taps to drain any remaining water in the pipes. This step prevents water from spilling during the installation. It’s also a good practice to place towels or rags around the sink area to soak up any unexpected drips or spills that may occur during the process. Additionally, if you’re working on a sink that hasn’t been serviced in a while, it might be beneficial to check for any signs of corrosion or wear around the valves, as this could indicate a need for further repairs before proceeding with the installation.
Removing Old Taps
Start by disconnecting the water supply lines from the taps using an adjustable wrench. Place a bucket underneath to catch any drips. Next, use a basin wrench to loosen the mounting nuts securing the taps to the basin.
After removing the nuts, lift the taps off carefully. Clean the area around the holes to remove any old sealant, grime, or mineral deposits. This ensures a clean surface for the new taps to sit on, promoting a watertight seal. As you clean, take a moment to inspect the condition of the sink itself; look for any cracks or damage that may need to be addressed before installing new fixtures. If you find any issues, it may be worth considering a repair or even a replacement of the sink to ensure that your new taps function properly and last longer. Additionally, while you have everything exposed, it’s a great opportunity to check the condition of the plumbing beneath the sink, ensuring that all connections are secure and free of leaks.
Step-by-Step Installation Guide
Installing the New Taps
Begin by applying plumber’s tape around the threads of the tap connectors. This tape helps prevent leaks by creating a tighter seal. Insert the taps into the basin holes, making sure they are aligned correctly.
From underneath the basin, secure the taps using the mounting nuts provided. Use a basin wrench to tighten them firmly but avoid overtightening, which can damage the basin or the taps.
Connecting Water Supply Lines
Attach the hot and cold water supply lines to their respective taps. Typically, the hot water line is on the left and the cold on the right, but it’s best to verify this with your plumbing setup. Tighten the connections with an adjustable wrench, ensuring they are snug but not overly tight.
Double-check that any washers or O-rings are correctly positioned to prevent leaks at the joints.
Sealing and Testing
Apply a thin bead of silicone sealant around the base of the taps where they meet the basin. This additional seal helps prevent water from seeping underneath and causing damage over time.
Allow the sealant to cure according to the manufacturer’s instructions, usually for 24 hours. Meanwhile, avoid using the taps to ensure the seal sets properly.
Ensuring Long-Term Reliability
Regular Maintenance Tips
Proper maintenance extends the life of your wash-basin taps. Regularly clean the taps with a mild detergent and a soft cloth to prevent buildup of grime and mineral deposits. Avoid abrasive cleaners that can damage the finish.
Check for leaks periodically, especially around the base and supply line connections. Early detection of leaks can save you from costly repairs and water damage.
Replacing Washers and O-Rings
Over time, washers and O-rings can wear out, causing drips or leaks. These components are inexpensive and easy to replace. If you notice a persistent drip, shutting off the water supply and replacing the worn parts can restore your tap’s function without needing a full replacement.
Addressing Hard Water Issues
If you live in an area with hard water, mineral buildup can affect tap performance. Installing a water softener or using descaling agents periodically can help maintain smooth operation and prevent corrosion.
When to Call a Professional
Complex Plumbing Setups
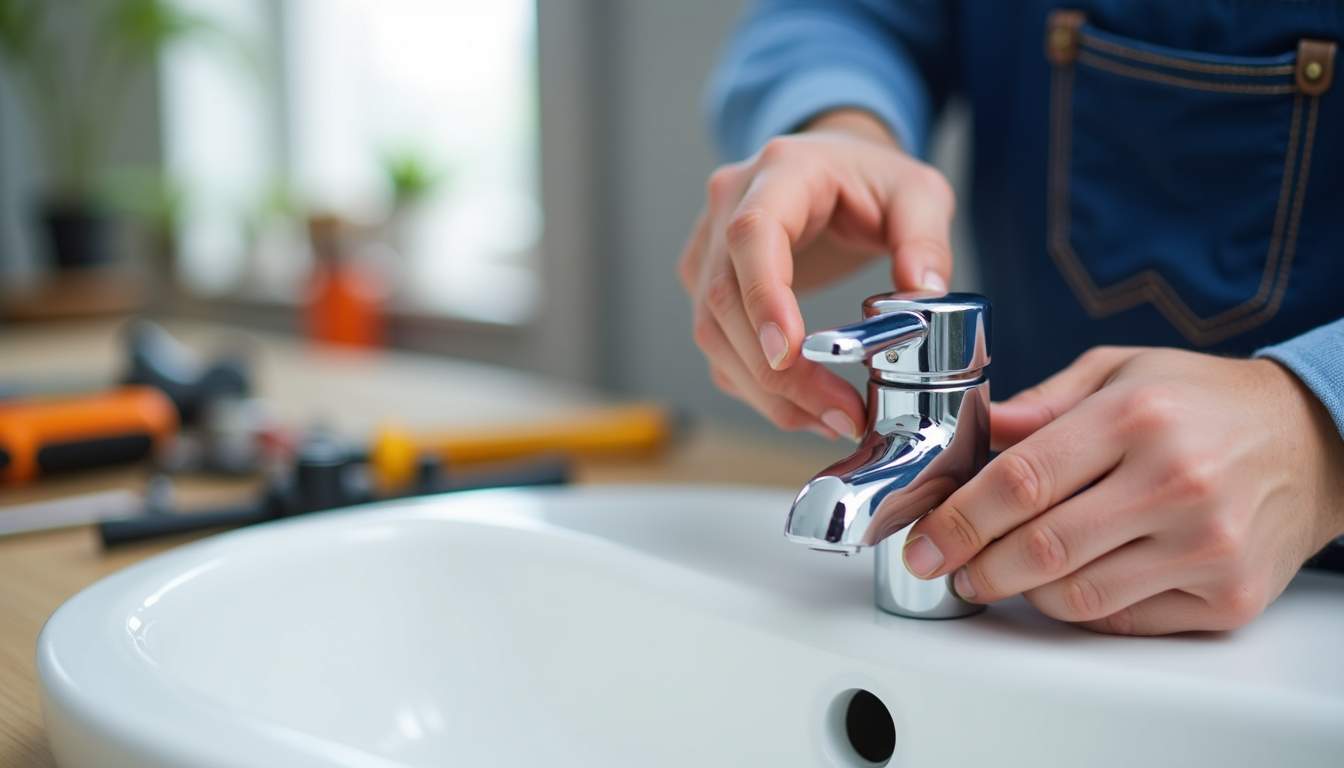
While many homeowners can handle basic tap installations, complex plumbing configurations may require professional expertise. If your basin has unusual fittings, or if you encounter corroded pipes or damaged valves, a plumber’s assistance ensures the job is done safely and correctly.
Persistent Leaks or Water Damage
If leaks continue despite your best efforts, or if you notice water damage under the basin, it’s wise to consult a professional. These issues might indicate deeper plumbing problems that need specialized tools and knowledge to fix.
Upgrading to Advanced Tap Systems
Installing sensor taps or integrated mixer systems with thermostatic controls can be more complicated than standard taps. Professional installation guarantees these systems function properly and comply with local plumbing codes.
Conclusion
Installing or replacing wash-basin taps is a rewarding home improvement project that enhances your bathroom’s usability and style. By choosing the right taps, preparing carefully, and following proper installation techniques, you can ensure your taps remain reliable for years.
Regular maintenance and timely repairs will keep your taps functioning smoothly, saving you money and hassle in the long run. And when in doubt, don’t hesitate to call a professional to handle more complex plumbing challenges.
With the right approach, your wash-basin taps will provide consistent performance and contribute to a beautiful, functional bathroom environment.